Most deep cleaning checklists fail for one boring reason: they're too long. I've cleaned rental properties, post-renovation sites, and my own chaotic apartment for over ten years, and the only checklist that works is the one you can finish before you hate yourself. This deep cleaning checklist breaks each room into three phases, with real time estimates and the specific order that stops you from re-cleaning the same surface twice.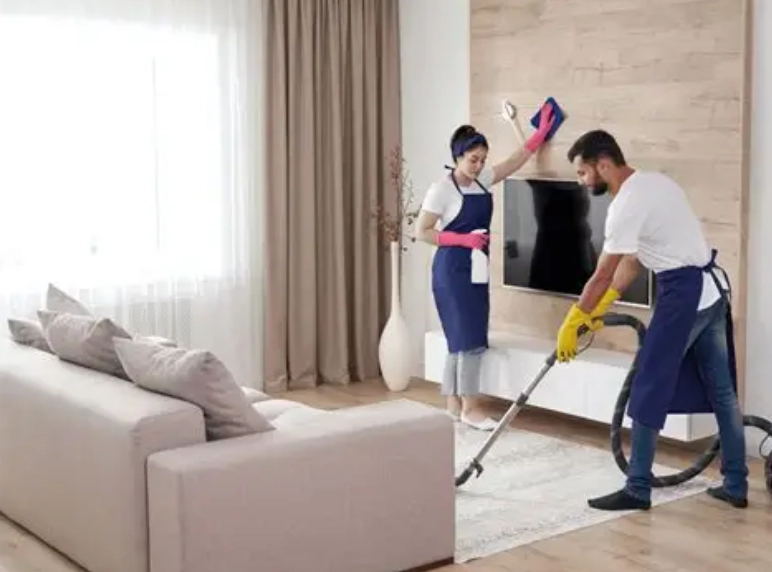
What's in this guide (jump to what you need)
- What Makes a Deep Cleaning Checklist Work
- Kitchen: The Grease Trap Deep Cleaning Checklist
- Bathroom: Mold, Mineral Scale, and the Order of Operations
- Bedroom and Living Areas: Dust You Can't See
- Entryway, Fridge, and the Overlooked Spots
- How Long It Really Takes (and What Tools to Skip)
- The Three Mistakes I See Every Single Time
What Makes a Deep Cleaning Checklist Work
Here's the thing nobody tells you: a deep cleaning checklist is not a to-do list. It's a sequence. If you wipe the bathroom mirror before you scrub the shower, you'll fog it up again. If you vacuum before you dust shelves, you'll knock debris onto clean carpet. Small stuff like that adds forty minutes to a job.
The checklist below is built on three phases per room: dry first (dust, vacuum, shake out), wet second (scrub, spray, rinse), and finish last (glass, polish, restock). I learned this the hard way after a client in a 1930s apartment asked me to redo her living room because I'd smeared dust across her TV screen with a damp cloth. Never again.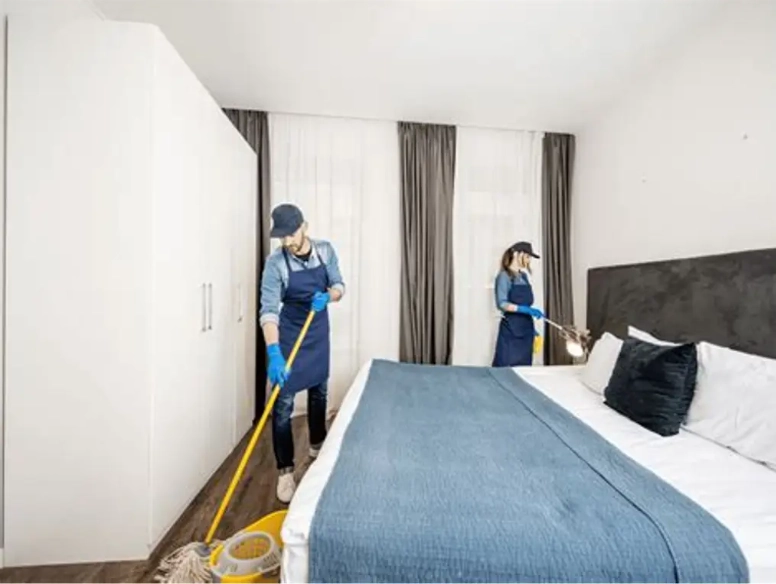
Kitchen: The Grease Trap Deep Cleaning Checklist
Kitchens take the longest. Not because there's more to clean, but because grease travels. It lands on top of cabinets, on the range hood filter, even on the ceiling near the stove if you fry a lot.
Phase 1: Dry and De-clutter (15 minutes)
- Empty one cabinet at a time, wipe the shelf, toss expired spices. You'll find at least three jars from two years ago.
- Vacuum crumbs from drawers with the crevice tool before wiping.
- Pull the fridge out if it's on wheels. I've found everything from petrified peas to a missing spatula back there.
Phase 2: Degrease and Scrub (40 minutes)
- Run the range hood filter through hot water and dish soap. If it's been more than six months, soak it in a degreaser for twenty minutes—the water will turn brown.
- Spray the backsplash with a 1:1 white vinegar and water mix—no need for heavy chemicals unless there's visible mold.
- Scrub the sink with baking soda and a stiff brush. The rim, not just the basin. That's where the grime hides.
Phase 3: Finish (10 minutes)
- Wipe cabinet fronts with a microfiber cloth and a drop of dish soap. Skip the fancy polish—it attracts dust.
- Replace the fridge filter if it's older than six months. A $15 filter beats a $200 repair.
| Kitchen Task | Time | Tool | Forgotten Detail |
|---|---|---|---|
| Range hood filter | 20 min soak | Degreaser, hot water | Check the fan blades too |
| Fridge coils | 10 min | Coil brush, vacuum | Dust here makes the motor work harder |
| Cabinet tops | 8 min | Dry microfiber | Grease film builds up invisibly |
Bathroom: Mold, Mineral Scale, and the Order of Operations
Bathrooms are quick if you follow one rule: top to bottom, dry to wet. I cringe when I see people spray the shower first, then dust the light fixture. You're just moving debris onto a wet surface where it sticks.
Phase 1: Dry (10 minutes)
- Dust the exhaust fan cover with a dry cloth. In my experience, 8 out of 10 rentals have never had this done, and the dust mat is thick enough to reduce airflow.
- Vacuum the floor corners and behind the toilet with the brush attachment.
Phase 2: Wet (25 minutes)
- Spray the shower with a vinegar-based cleaner and let it sit for ten minutes. Don't scrub immediately—the acid needs time to break down calcium.
- Scrub grout with a stiff brush and a paste of baking soda and water. Skip the bleach unless there's actual mold; bleach discolors grout over time.
- Wipe the toilet base and bolts, not just the bowl. The bolts are where the smell comes from.
Phase 3: Finish (5 minutes)
- Use a squeegee on the shower glass and a dry cloth on the mirror. A clean mirror with streaks still looks dirty—use a microfiber and a tiny bit of water.
- Replace the shower curtain liner if it's cloudy. I know it's wasteful, but a $10 liner beats scrubbing mildew for an hour.
Bedroom and Living Areas: Dust You Can't See
Bedrooms are deceptive. They look clean because the mess is hidden under the bed and inside the pillows. This section of the deep cleaning checklist focuses on allergens—the stuff that makes you wake up congested.
Phase 1: Textiles (20 minutes)
- Wash pillows (check the tag; most go in the machine on hot) and the mattress pad. I do this every three months. The water turns gray the first time you do it, and then you never skip it again.
- Vacuum the mattress surface with the upholstery tool, then sprinkle baking soda, let it sit for fifteen minutes, and vacuum again.
Phase 2: Surfaces (15 minutes)
- Dust the headboard, nightstand, and lamp shades with a dry microfiber cloth. A damp cloth on a lampshade leaves water rings.
- Wipe switch plates and door handles. These are the most-touched and least-cleaned spots in any home.
Phase 3: Floor (10 minutes)
- Vacuum under the bed using the wand. If you have carpet, go over it twice—once slow to lift debris, once normal.
Entryway and Fridge: The Spots That Get Skipped
Entryways collect grit. Every shoe brings in tiny rocks that scratch flooring. My move: shake out the doormat outside, vacuum the entry floor, then mop with warm water and a drop of dish soap. Skip the fancy floor cleaner; it leaves a film.
For the fridge, I take everything out, wipe shelves with a mix of water and baking soda, and check the door gasket with a cotton swab. That gasket fold is where sticky juice hides, and it's the source of that faint sour smell you can't place.
How Long It Really Takes (and What Tools to Skip)
| Room | Realistic Time | Essential Tool | Tool to Skip |
|---|---|---|---|
| Kitchen | 65 min | Degreaser, microfiber cloths | Steam mop (too bulky for cabinets) |
| Bathroom | 40 min | Stiff grout brush, squeegee | Disposable wipes (streak and waste) |
| Bedroom (per room) | 45 min | Upholstery vacuum tool | Feather duster (just moves dust) |
| Entryway | 15 min | Microfiber mop | String mop (holds odor) |
Total for a one-bedroom apartment: about 2.5 hours, spread over two days. I split it across a Saturday morning and a Sunday afternoon. Trying to do it all in one go is how people end up ordering takeout and ignoring the bathroom for another month.
The Three Mistakes I See Every Single Time
First, people start with the floors. You'll just re-vacuum after dusting. Second, they use too much product. A capful of cleaner in a bucket of water works; half a bottle leaves residue that attracts dirt. Third, they skip the exhaust fans and fridge coils. Those two spots take twenty minutes and make the whole house feel cleaner because they fix the air and the motor noise.
One more: don't buy a special "deep cleaning" kit. I've tested a few, and they're mostly overpriced microfiber and a label. You need a vacuum with a crevice tool, a stiff brush, white vinegar, baking soda, dish soap, and a stack of microfiber cloths. That's it.
Questions I Get About This Checklist
How do I deep clean a room when I only have one hour?
Pick one phase, not the whole room. Do all the dry tasks (dusting, vacuuming, decluttering) in that hour and stop. The wet cleaning can wait for next weekend. I do this with clients who work long hours—two short sessions beat one exhausting marathon.
Is a deep cleaning checklist different from a regular cleaning routine?
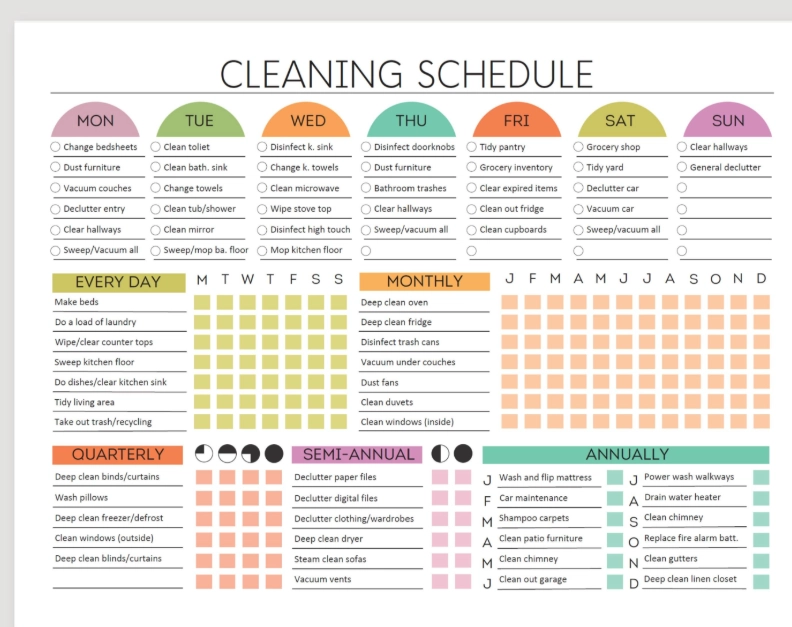
Yes, and the difference is what's underneath. A routine cleans what you see. A deep cleaning checklist targets the hidden layer: fridge coils, exhaust fan covers, the top of cabinets, the door gasket. If you're wiping the same surfaces every week and the house still feels stale, you've been doing routine, not deep.
What should I clean first if the whole house is a mess?
Start with the kitchen sink and the bathroom toilet. Not because they're dirty, but because they're the two spots that make you feel behind. Once those are clean, the rest feels doable. I've seen this work with people who haven't cleaned in months.
Do I need to move furniture to deep clean properly?
Only the pieces you can move alone. For heavy dressers, use the vacuum wand to reach the visible edges. Pulling out a 200-pound dresser to clean behind it is how backs get thrown out. I clean the visible strip and leave the rest—it's fine.
This guide reflects hands-on cleaning experience across rental properties, post-renovation sites, and residential homes. Time estimates are based on a one-bedroom apartment with average buildup; adjust for square footage and pet hair.

Comments